Here you can see the first pictures from Jacaranda refit.
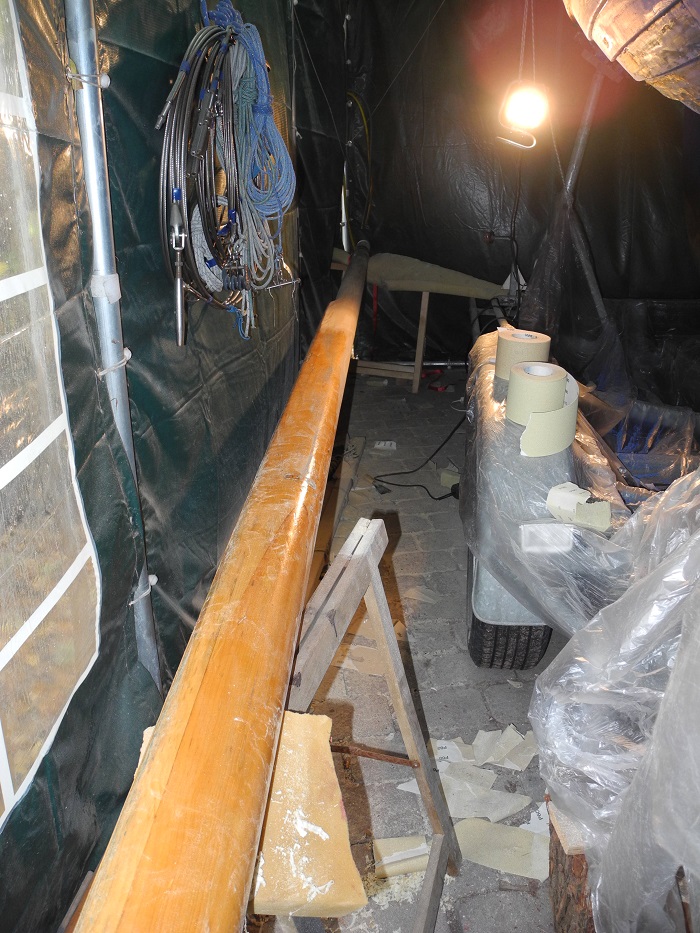
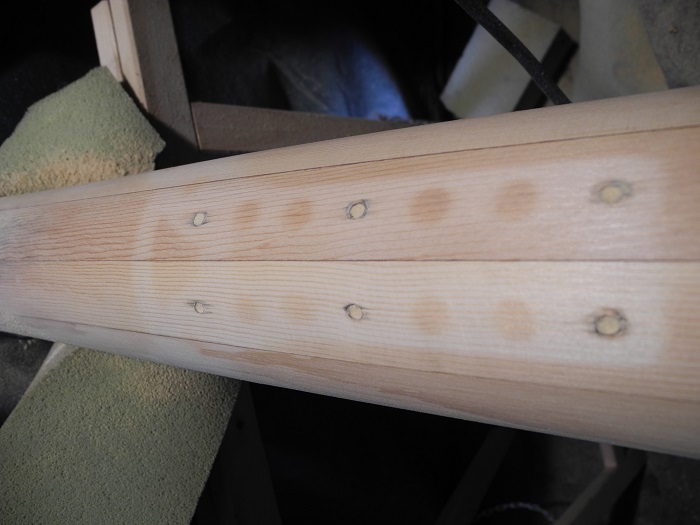
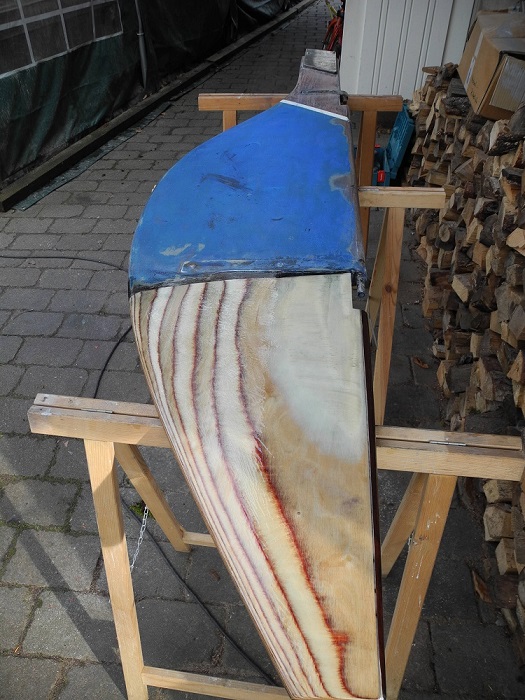
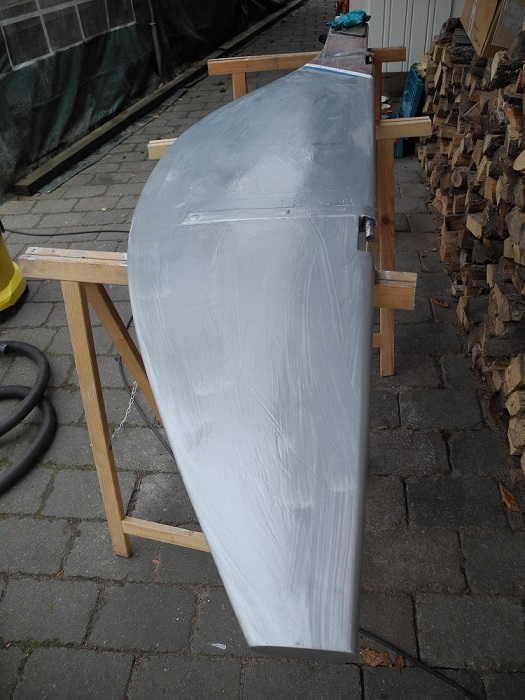
We will refit the mast totally. Varnish will be Epifanes later on. Everybody who has done this work already knows, how complex it is. Even to remove the fittings is time killing. We tried several techniques to get rid of the old varnish. Finally we used a special abrasive wheel and a draw blade before we started sanding.
That’s what we have done until now, but we need to increase the grain size of the sand paper.
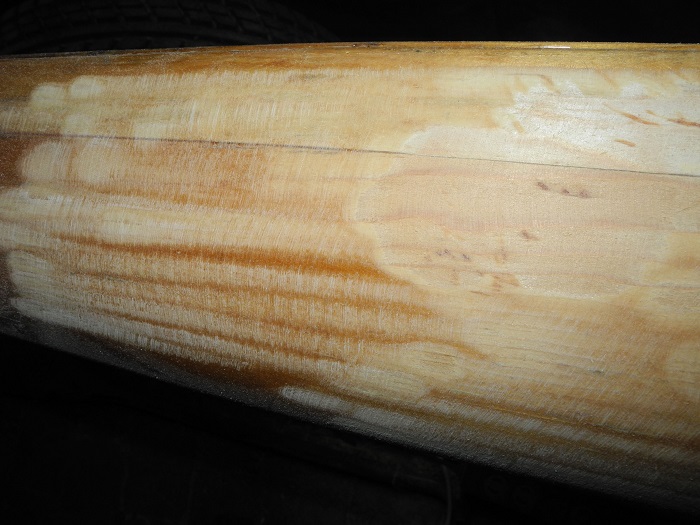
after CSD wheel and draw blade
still some work left
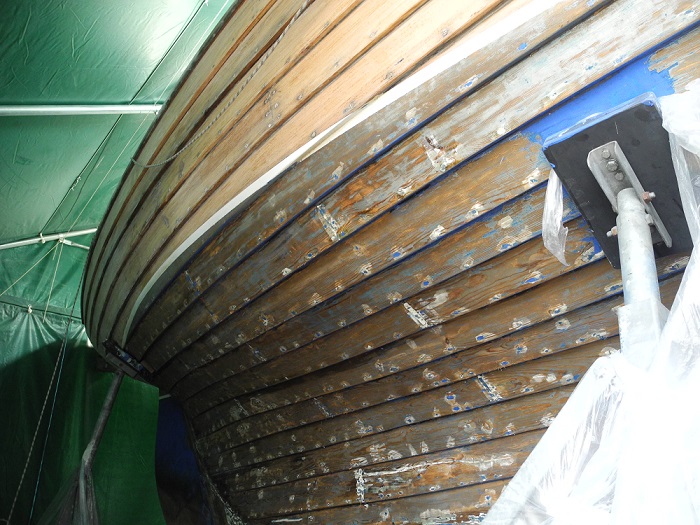
Unfortunatey when sanding antifouling we noticed that the underwaterprimer doesn’t stick to the hull enough. So we decided to renew the underwater paint system as well.
Unfortunatey when sanding antifouling we noticed that the underwaterprimer doesn’t stick to the hull enough. So we decided to renew the underwater paint system as well.
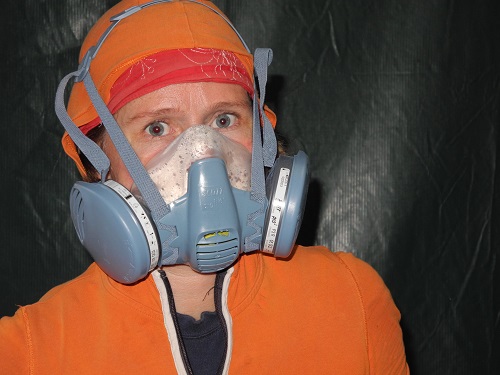
Katjas outfit for the last few days.
Here you can see, what she has done so far.
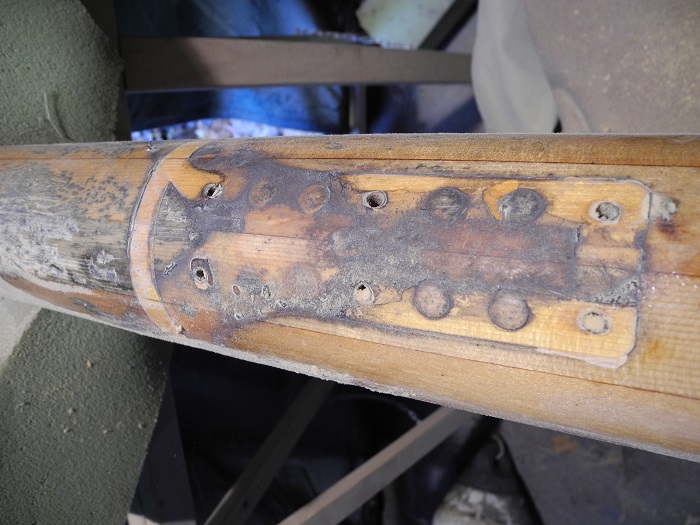
Mastcare was not the favourite of the former owner :-(.
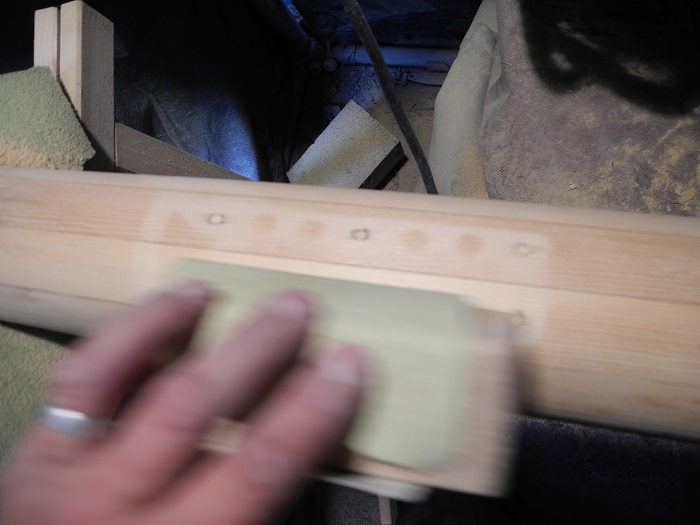
You really need a lot of sand paper!
The same spot after lots of work
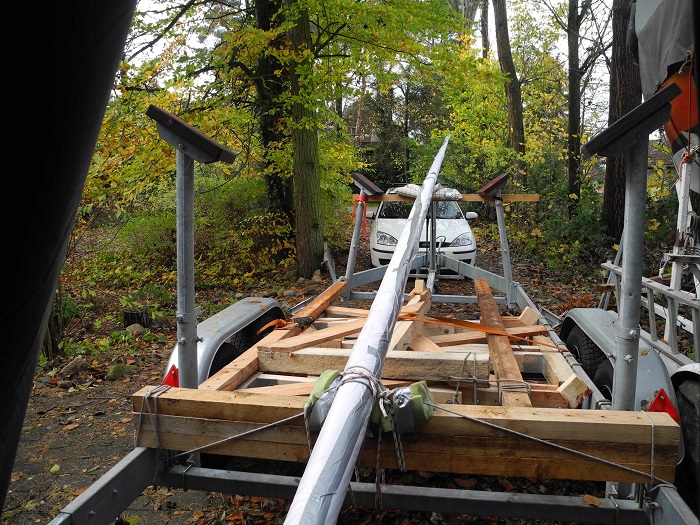
Here you can see how to transport a mast with no boat on the trailer
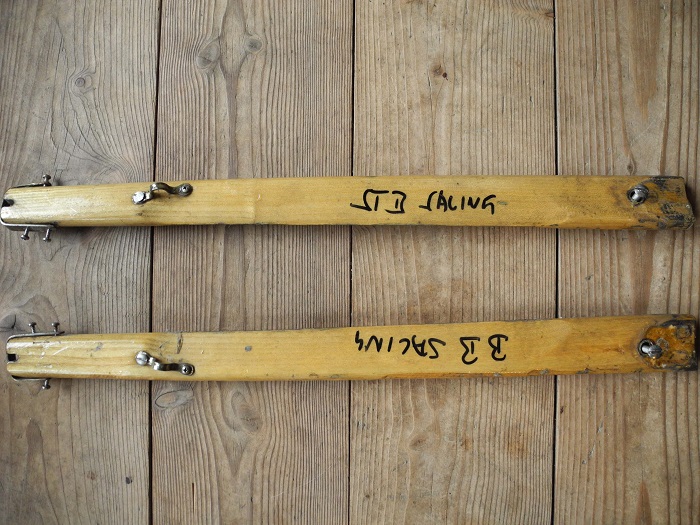
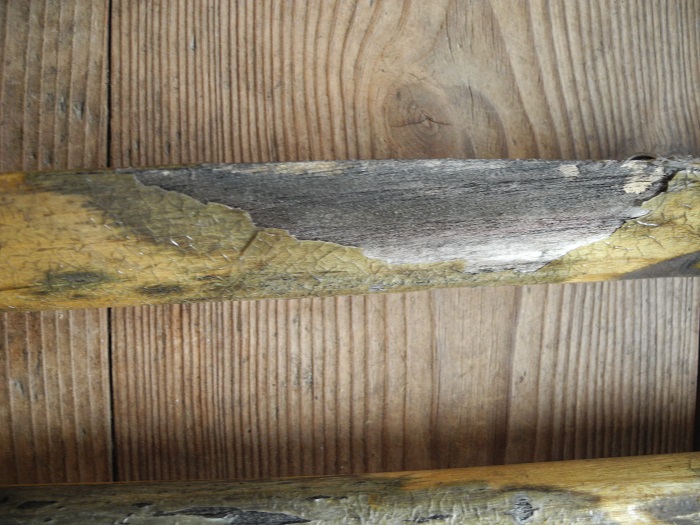
…spreader from below, slightly o.k.
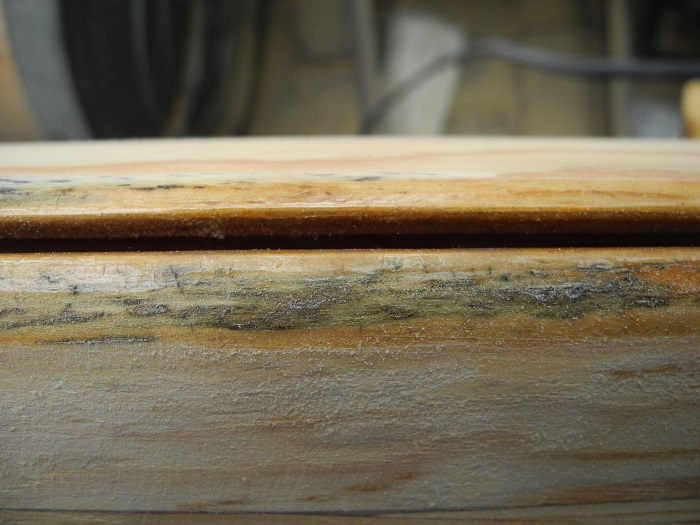
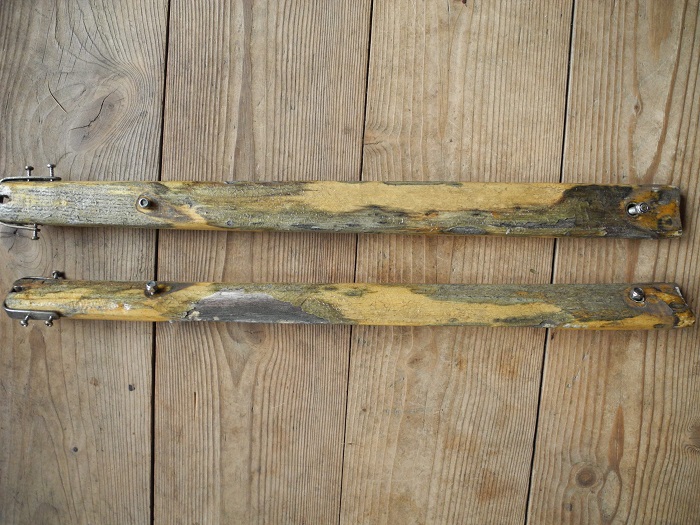
…spreader upper side, oh my goodness, almost no care in combination with uv rays, destroyed the varnish
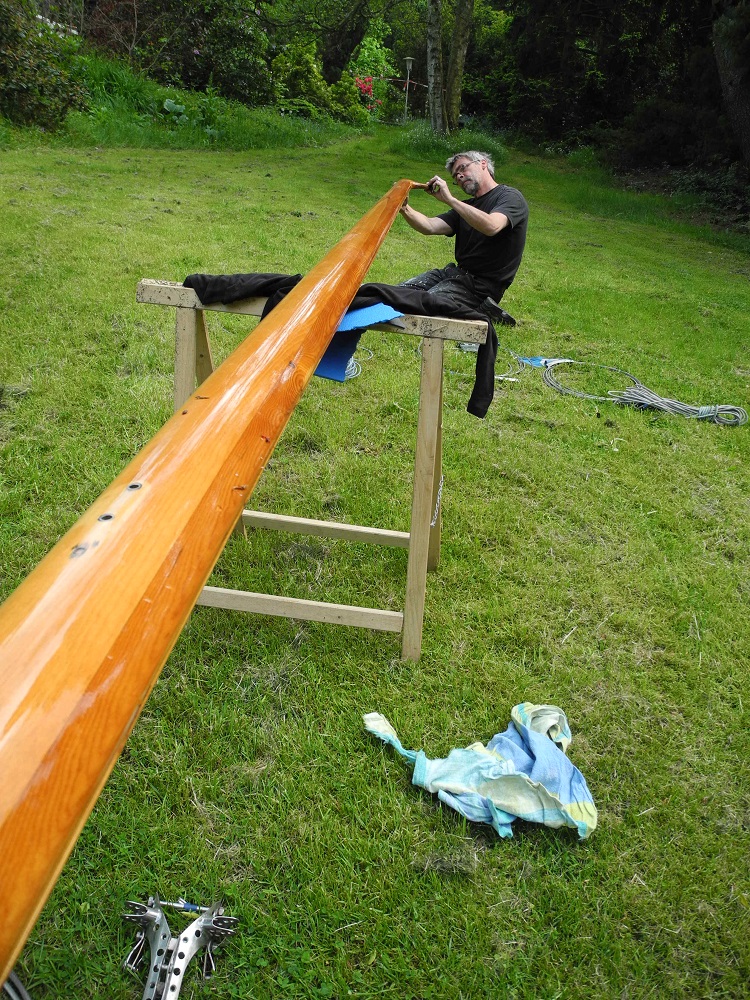
..don’t worry, everything is repairable, you need patience, sandpaper, and a good feeling for the material.
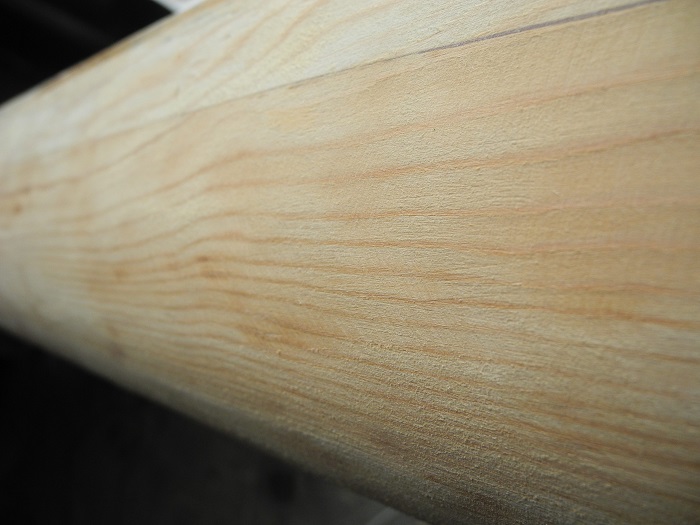
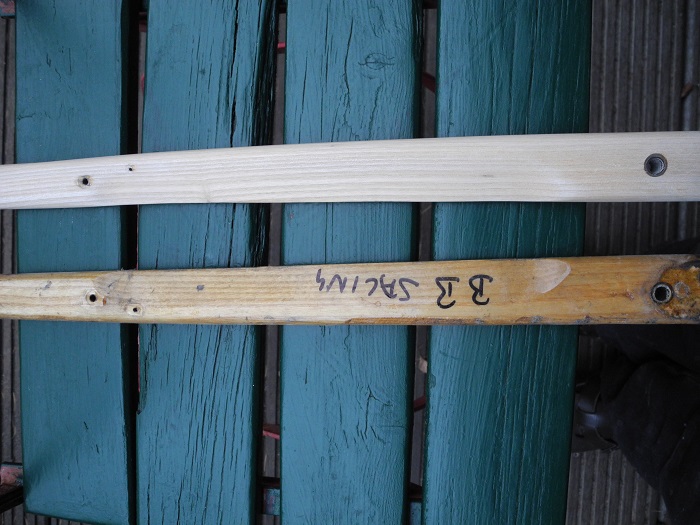
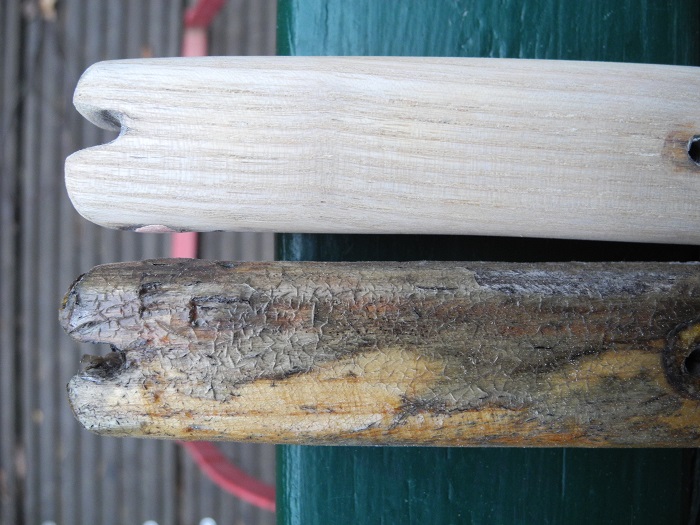
…before and after sanding
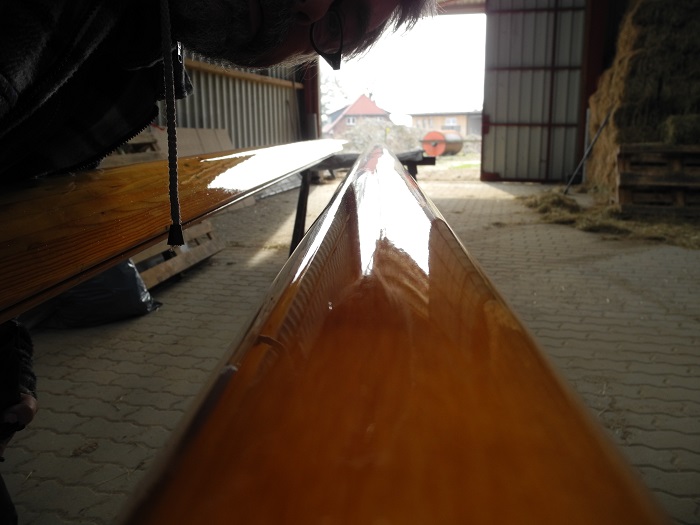
… now you only have to oil several times, to sand and to varnish approx 10 times.
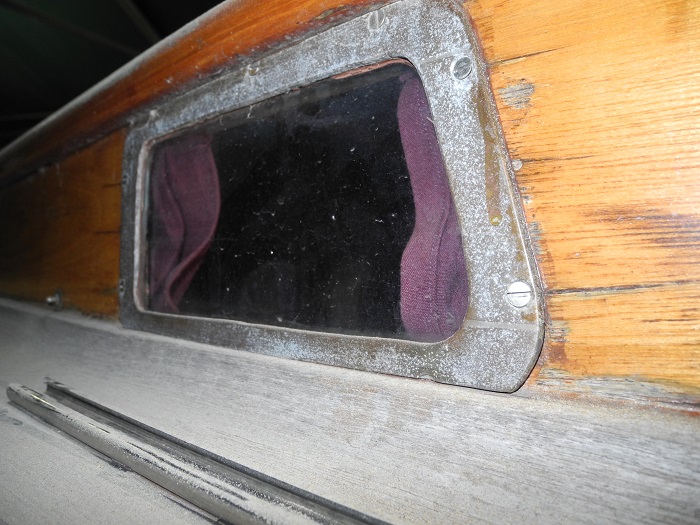
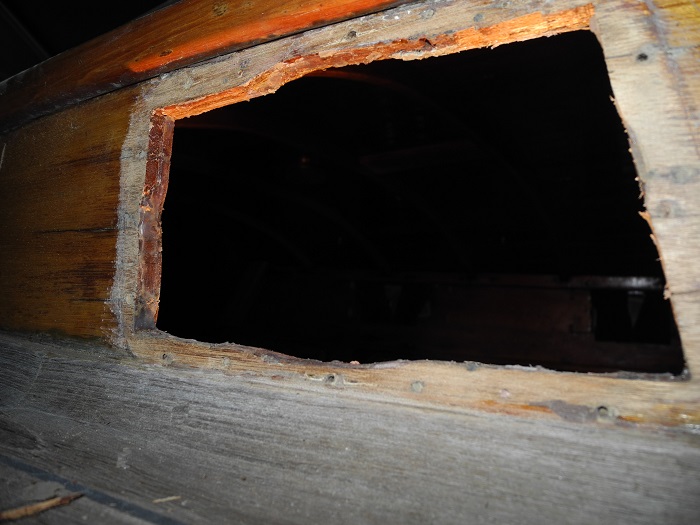
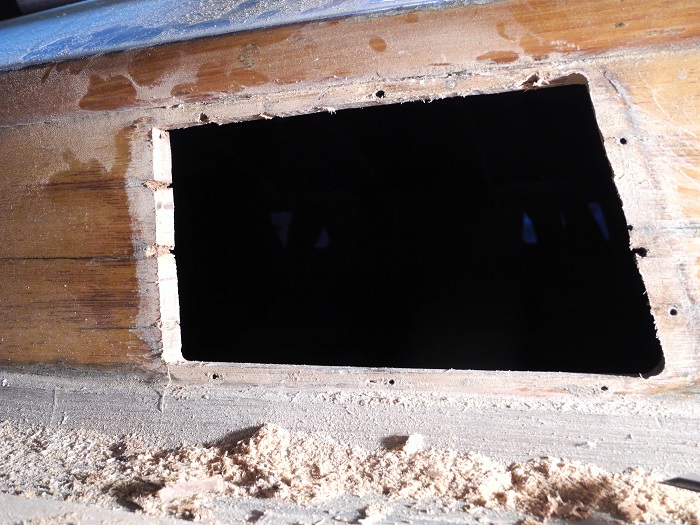
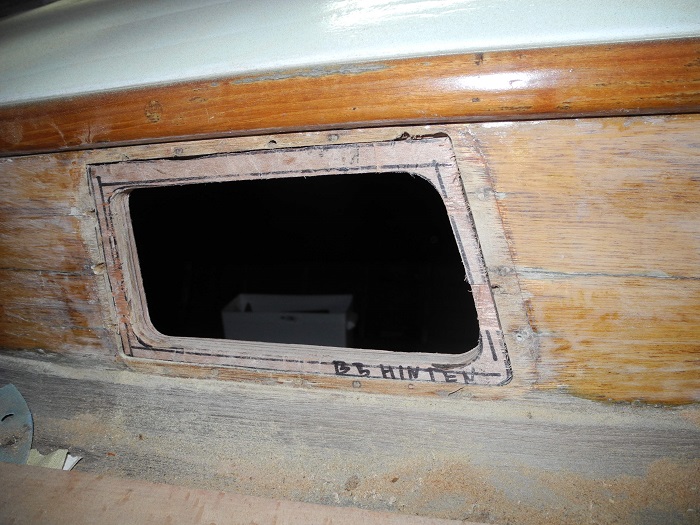
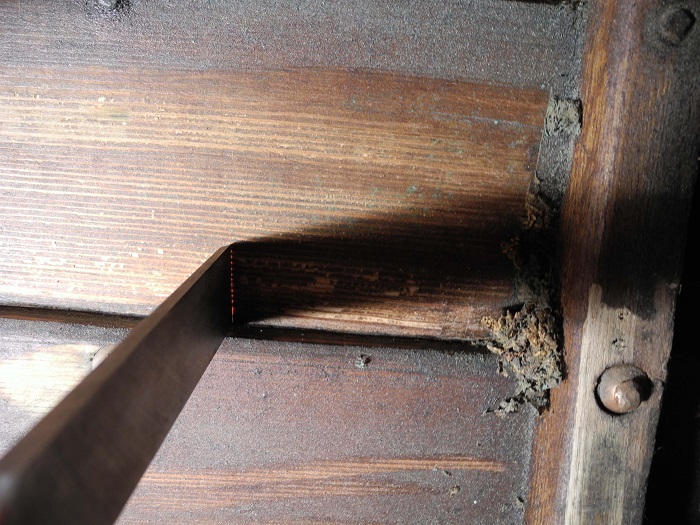
Rear cabin window, o.k. at the first view it doesn’t look too bad, but under the frame.
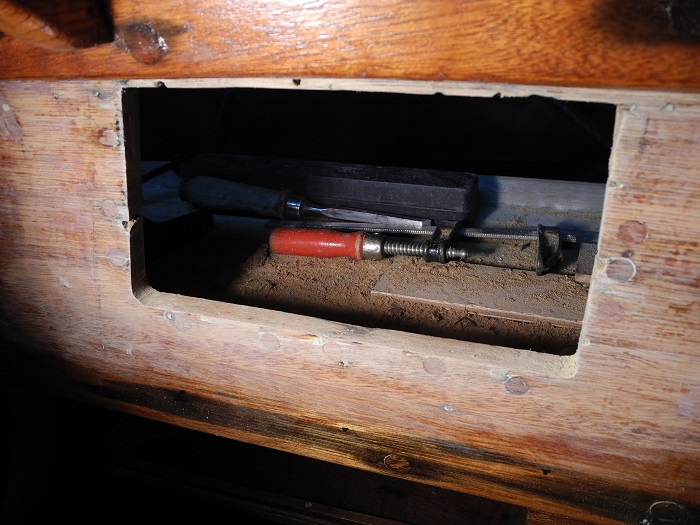
The window cut-out looks at the best like ploughed in. Irregularities in thickness are filled with normal silikon. I expect a major repair.
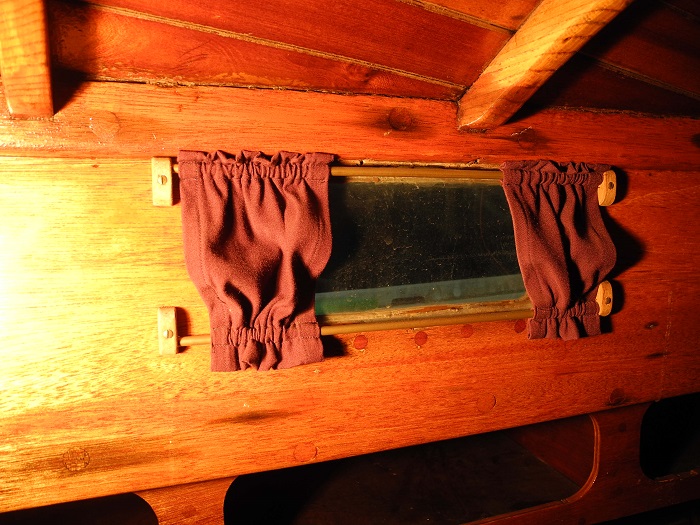
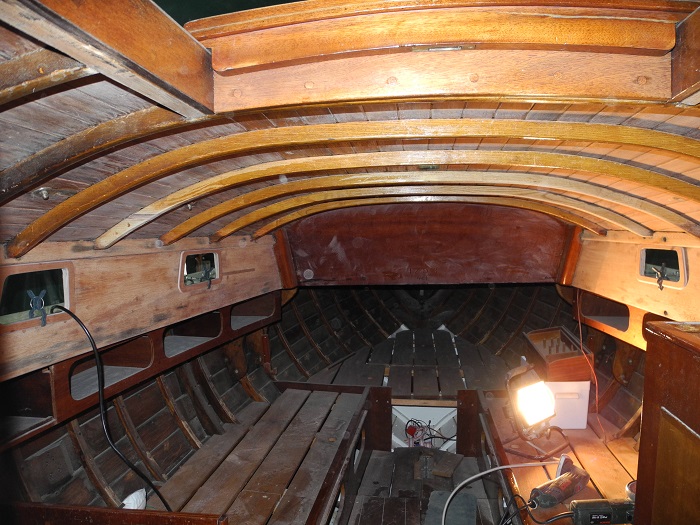
Inside the cabin one tried to hide the disaster with these rediculous drapes.
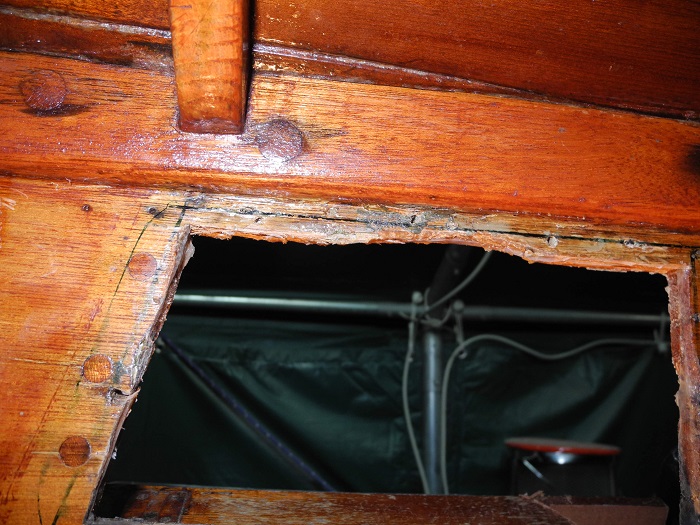
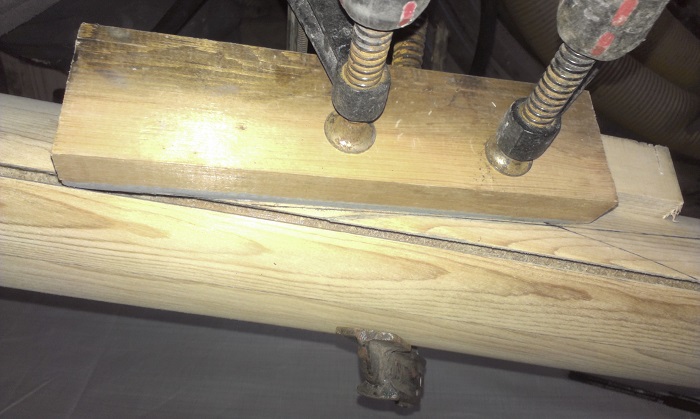
The window cut-out needs to be straightened and a kind of inner frame has to be glued in.
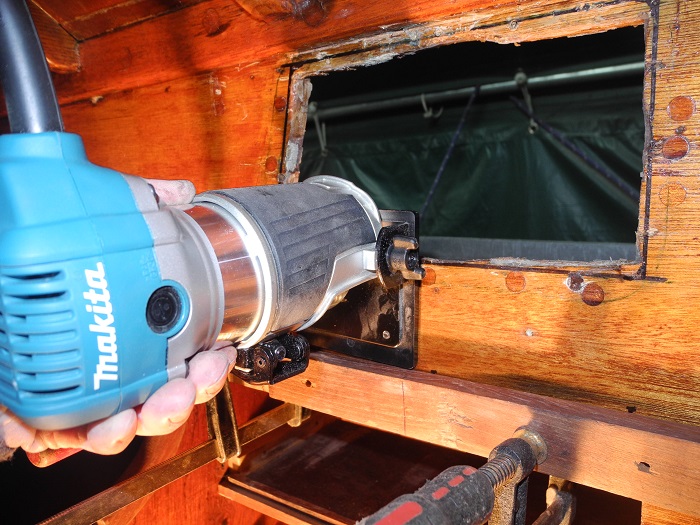
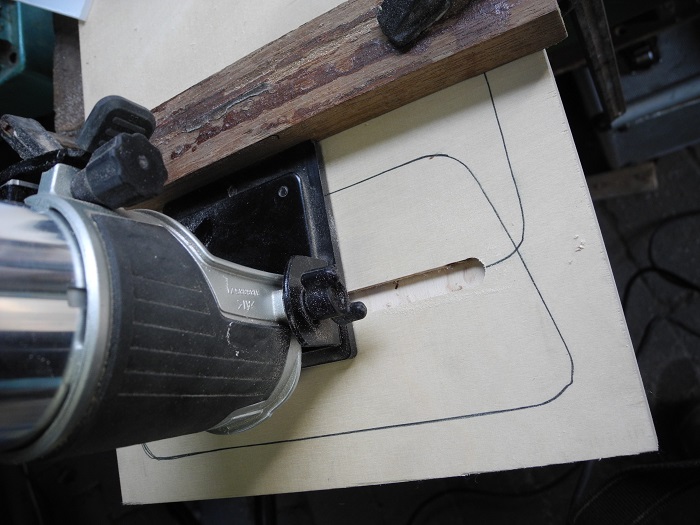
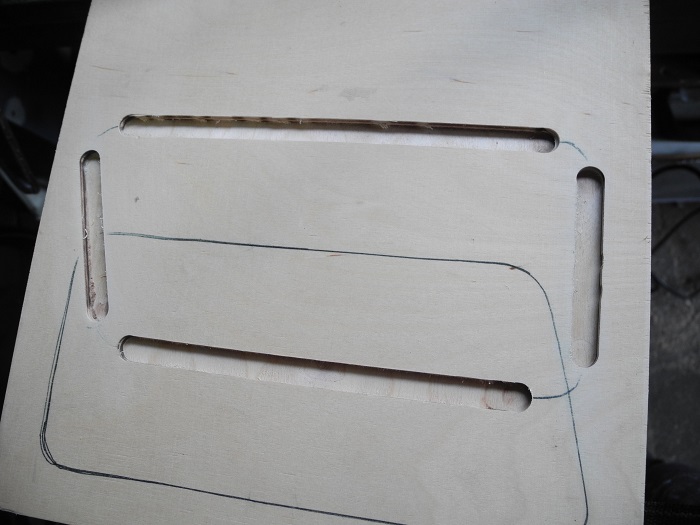
First steps of repair a made with a router.
Ready for the next step!
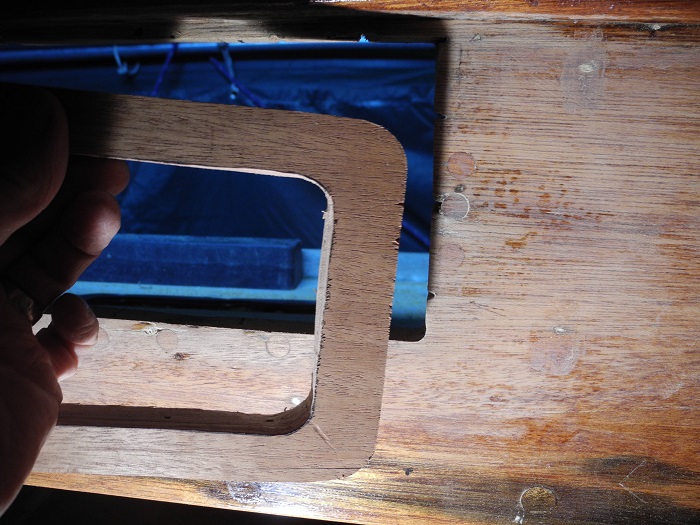
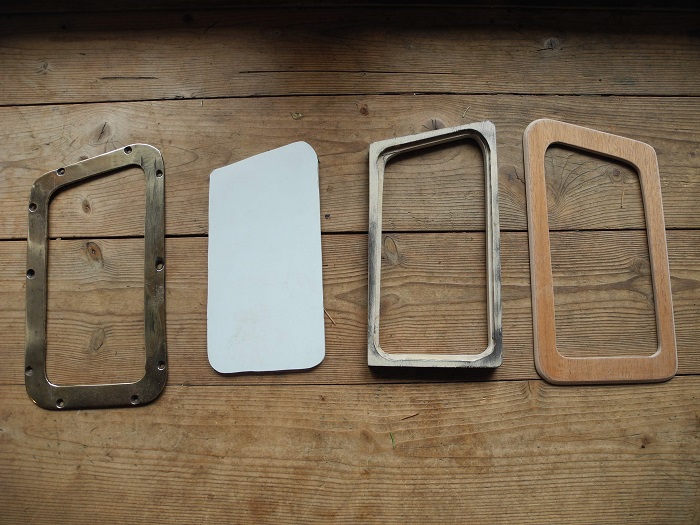
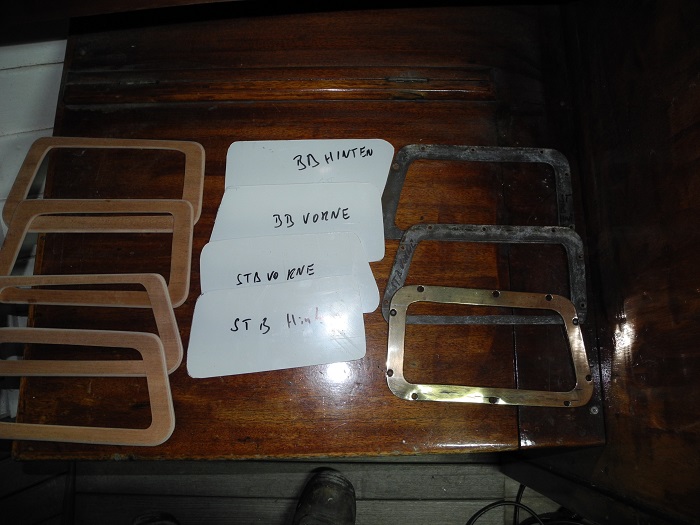
Only for test reasons I countersinked the frame. But in the end this part will consist of some seperate parts instead of one. It’s much more easy to produce.
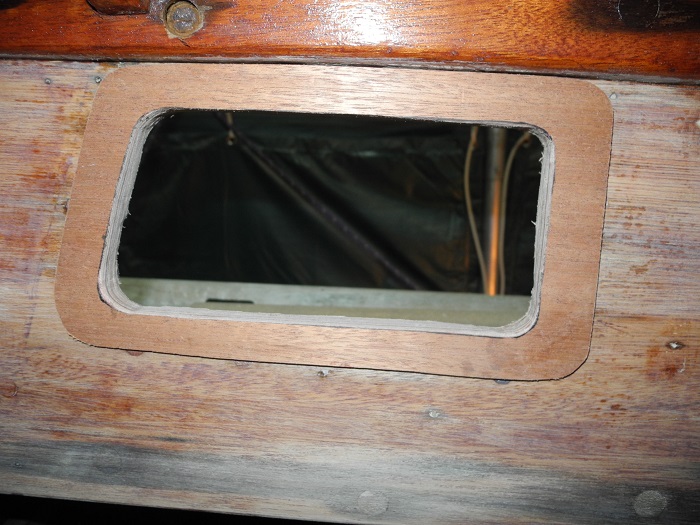
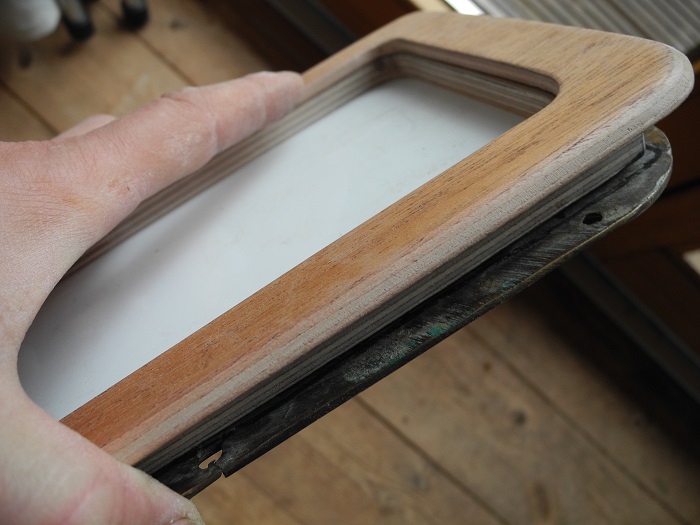
Similar like this it finally will look like.
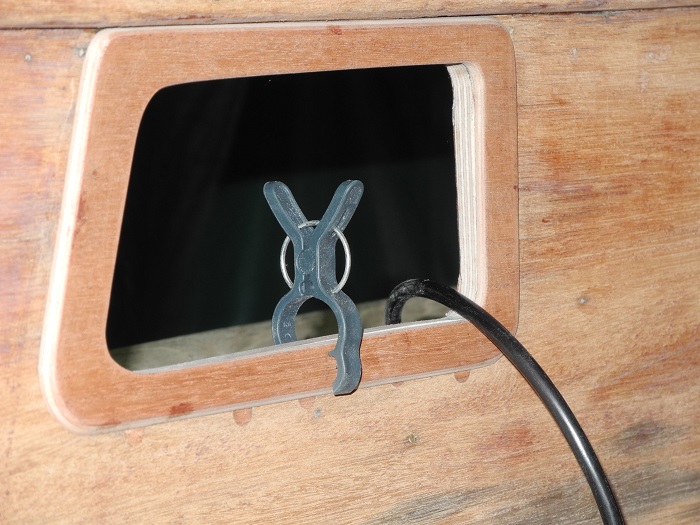
This is the view from outside, but still without the milling for the window pane.
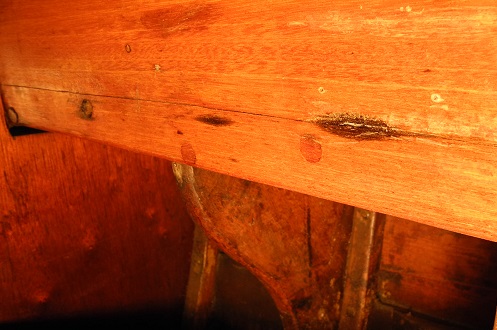
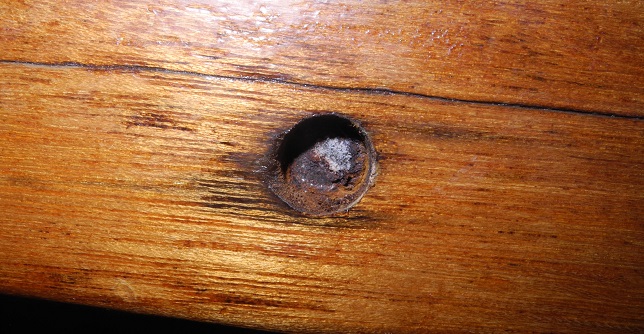
Unfortunately there are some cracks in the sidewalls of the cabin. The longer ones we have to repair.
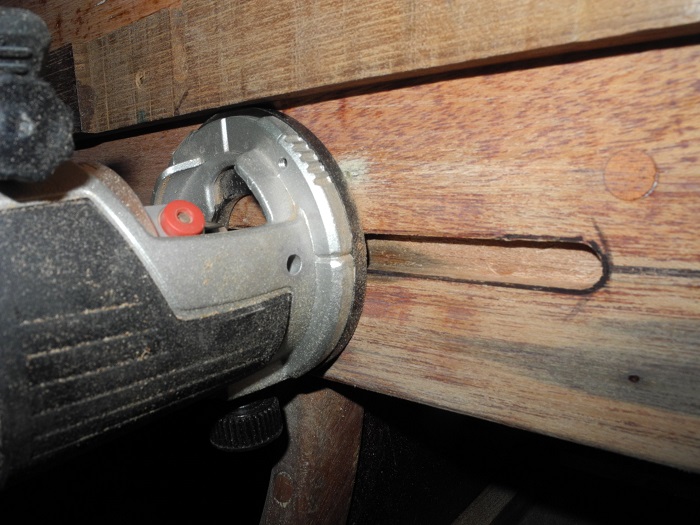
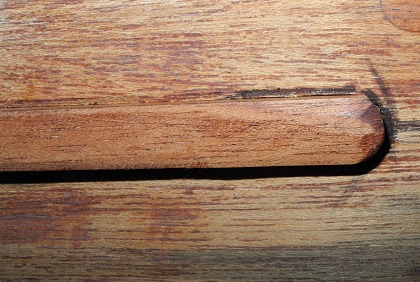
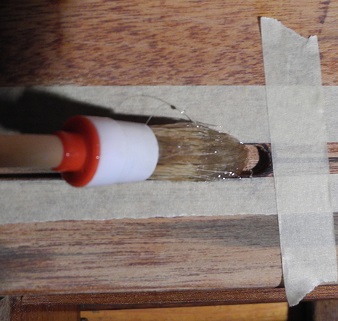
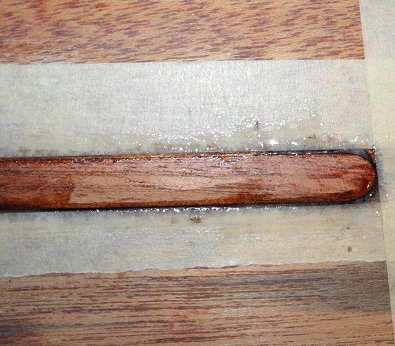
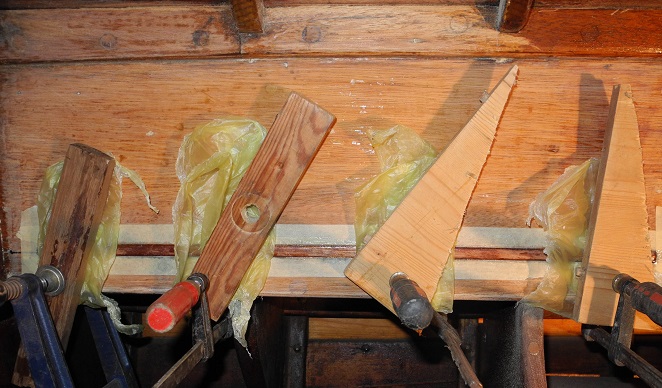
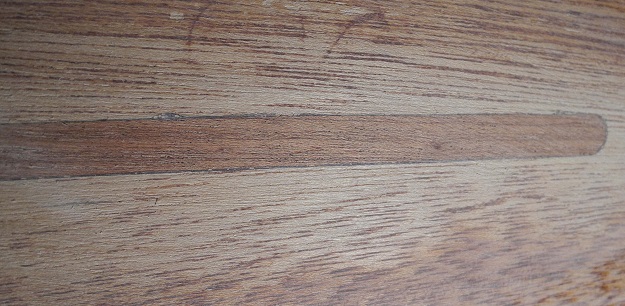
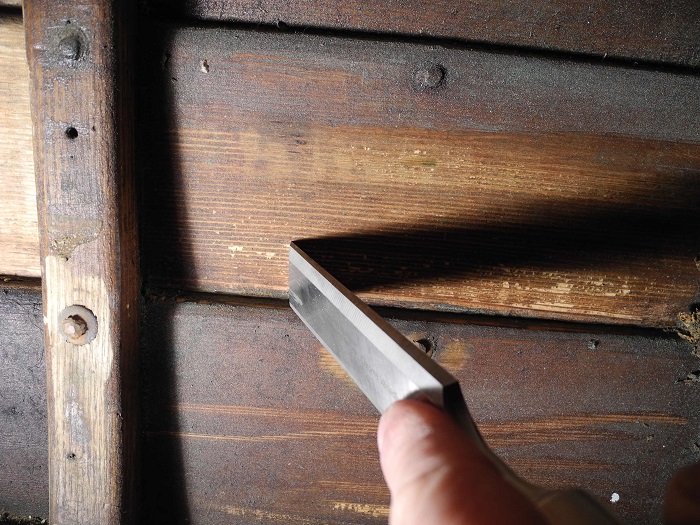
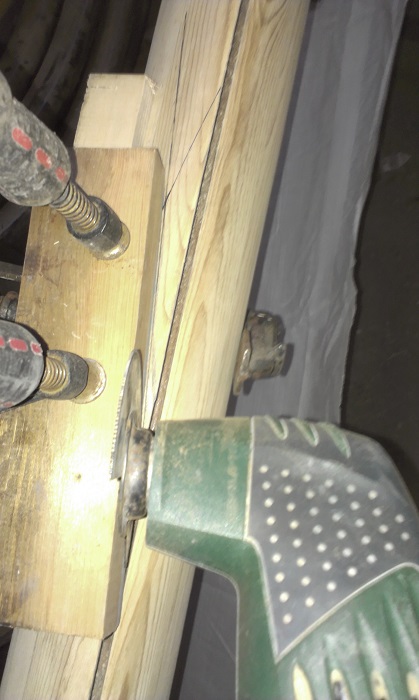
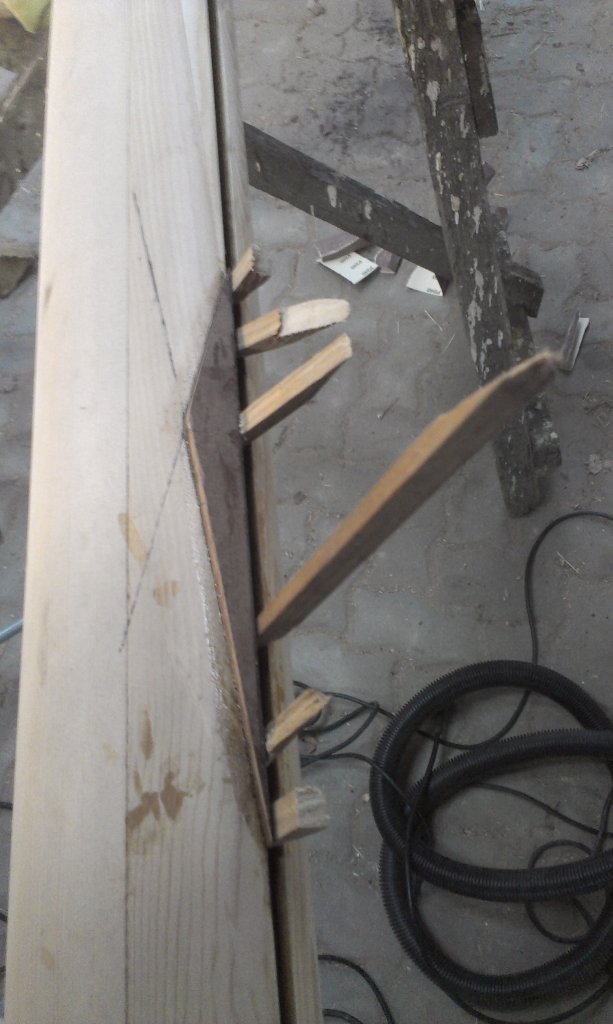
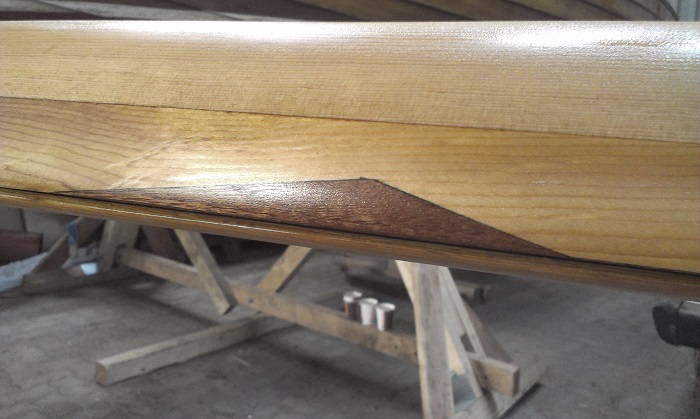
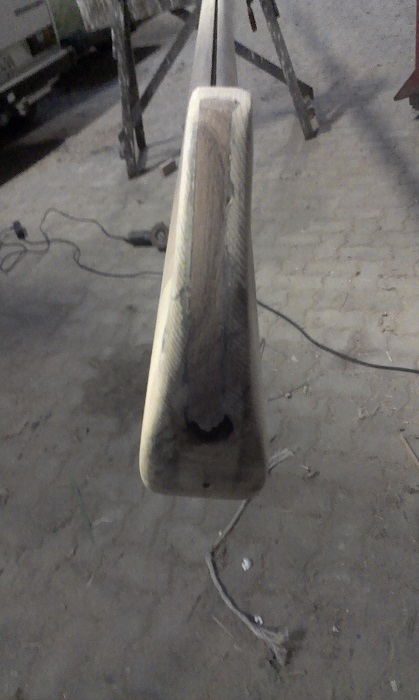
The crack is marked by an edding, after this you have to built a catch for the router. Now a furrow of 10 mm width 7mm depth is beeing milled.
Durch die weitere Nutzung der Seite stimmen Sie der Verwendung von Cookies und unseren Datenschutzbestimmungen zu. Weitere Informationen
Die Cookie-Einstellungen auf dieser Website sind auf "Cookies zulassen" eingestellt, um das beste Surferlebnis zu ermöglichen. Wenn du diese Website ohne Änderung der Cookie-Einstellungen verwendest oder auf "Akzeptieren" klickst, erklärst du sich damit einverstanden.


Kommentare sind geschlossen.